bra making

  • Work hard, play hard in equal measure

    As most of you know, I recently visited Bra Makers Supply in Canada for the Master Swimwear course. It was a combined ‘work and play’ trip as I headed to Florida after the course for a holiday where I tried and tested my brand new swimsuit…..made by hers truly.

    On arrival, we were greeted by an unseasonal ice storm: snow, ice pellets and wind. Fortunately I had packed a warm coat but I didn’t quite think through my shoe selection properly as it was totally impractical and consisted of smooth-soled suede moccasins!

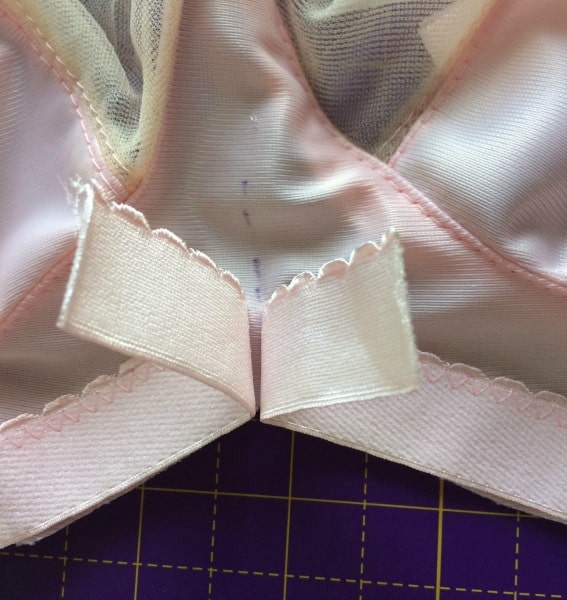
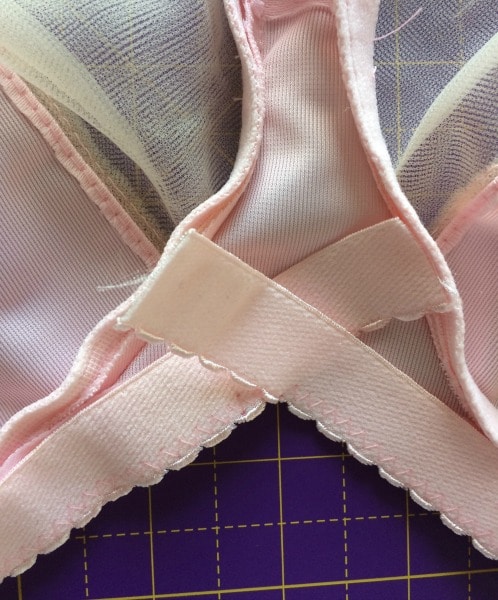
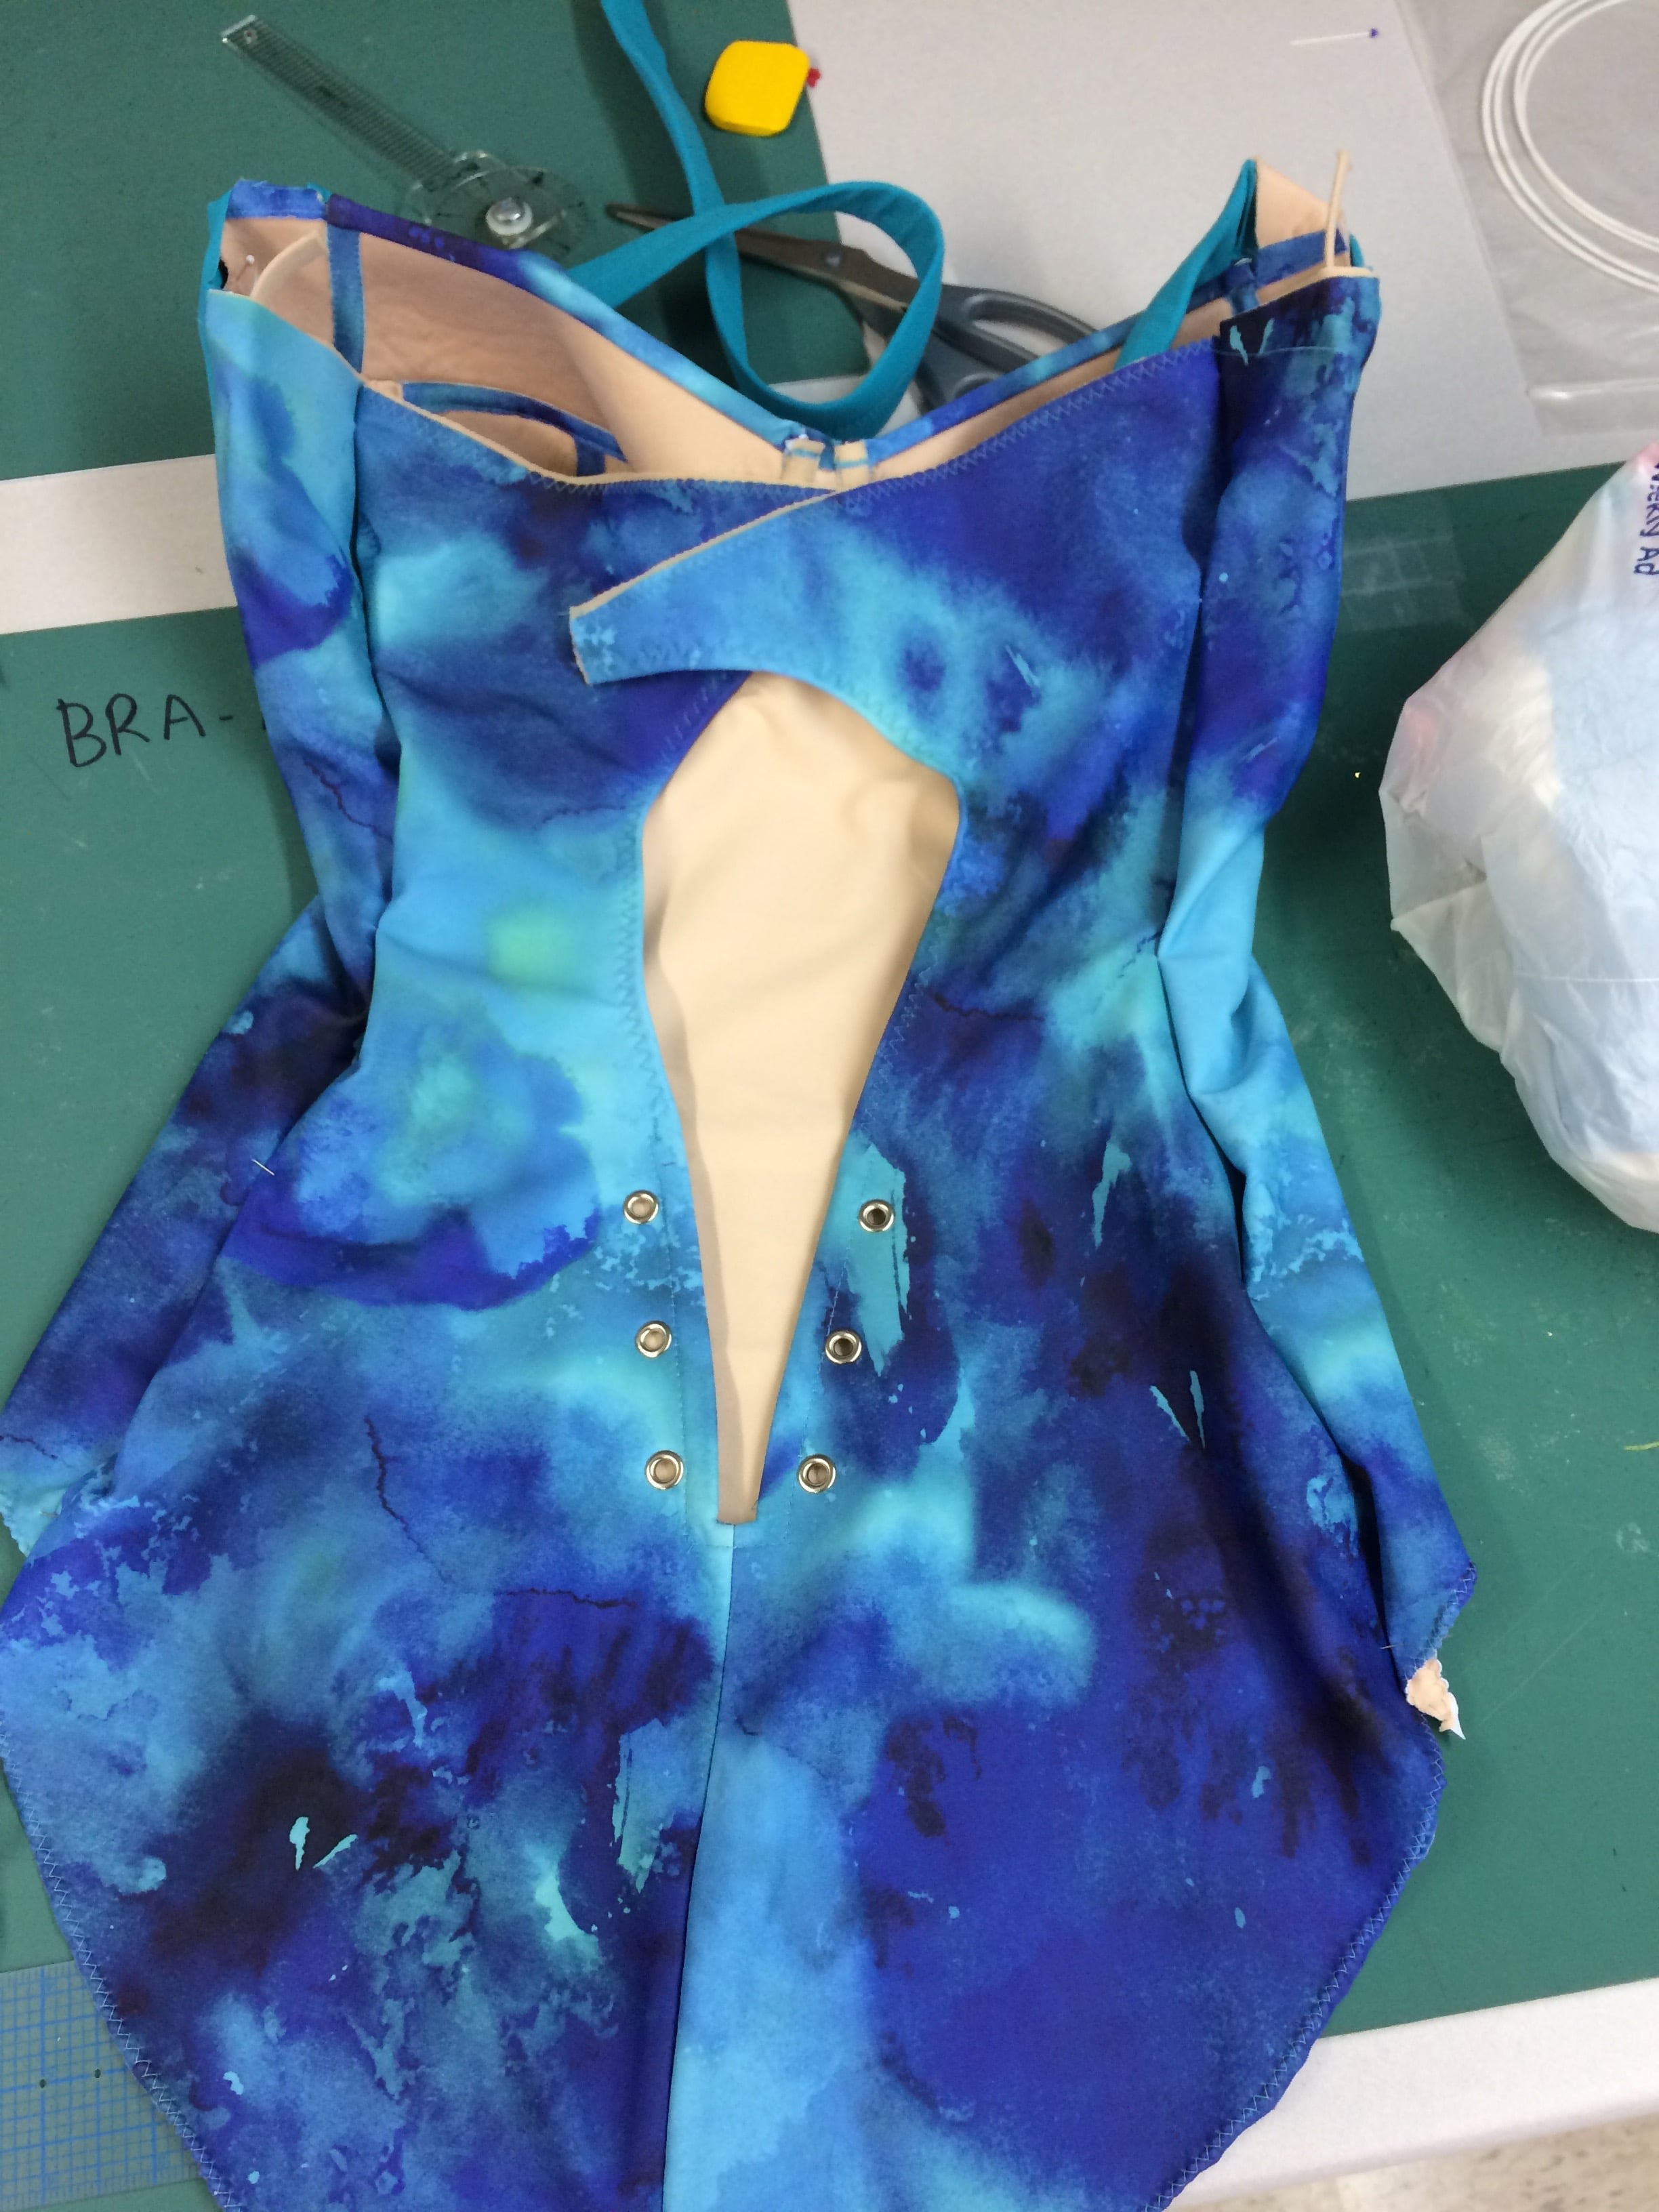
    Anyway, the course with Beverly was absolutely brilliant, as I knew it would be. She helped me design my own swimsuit, incorporating a little corseted section in the back with a metal separator and grommets.

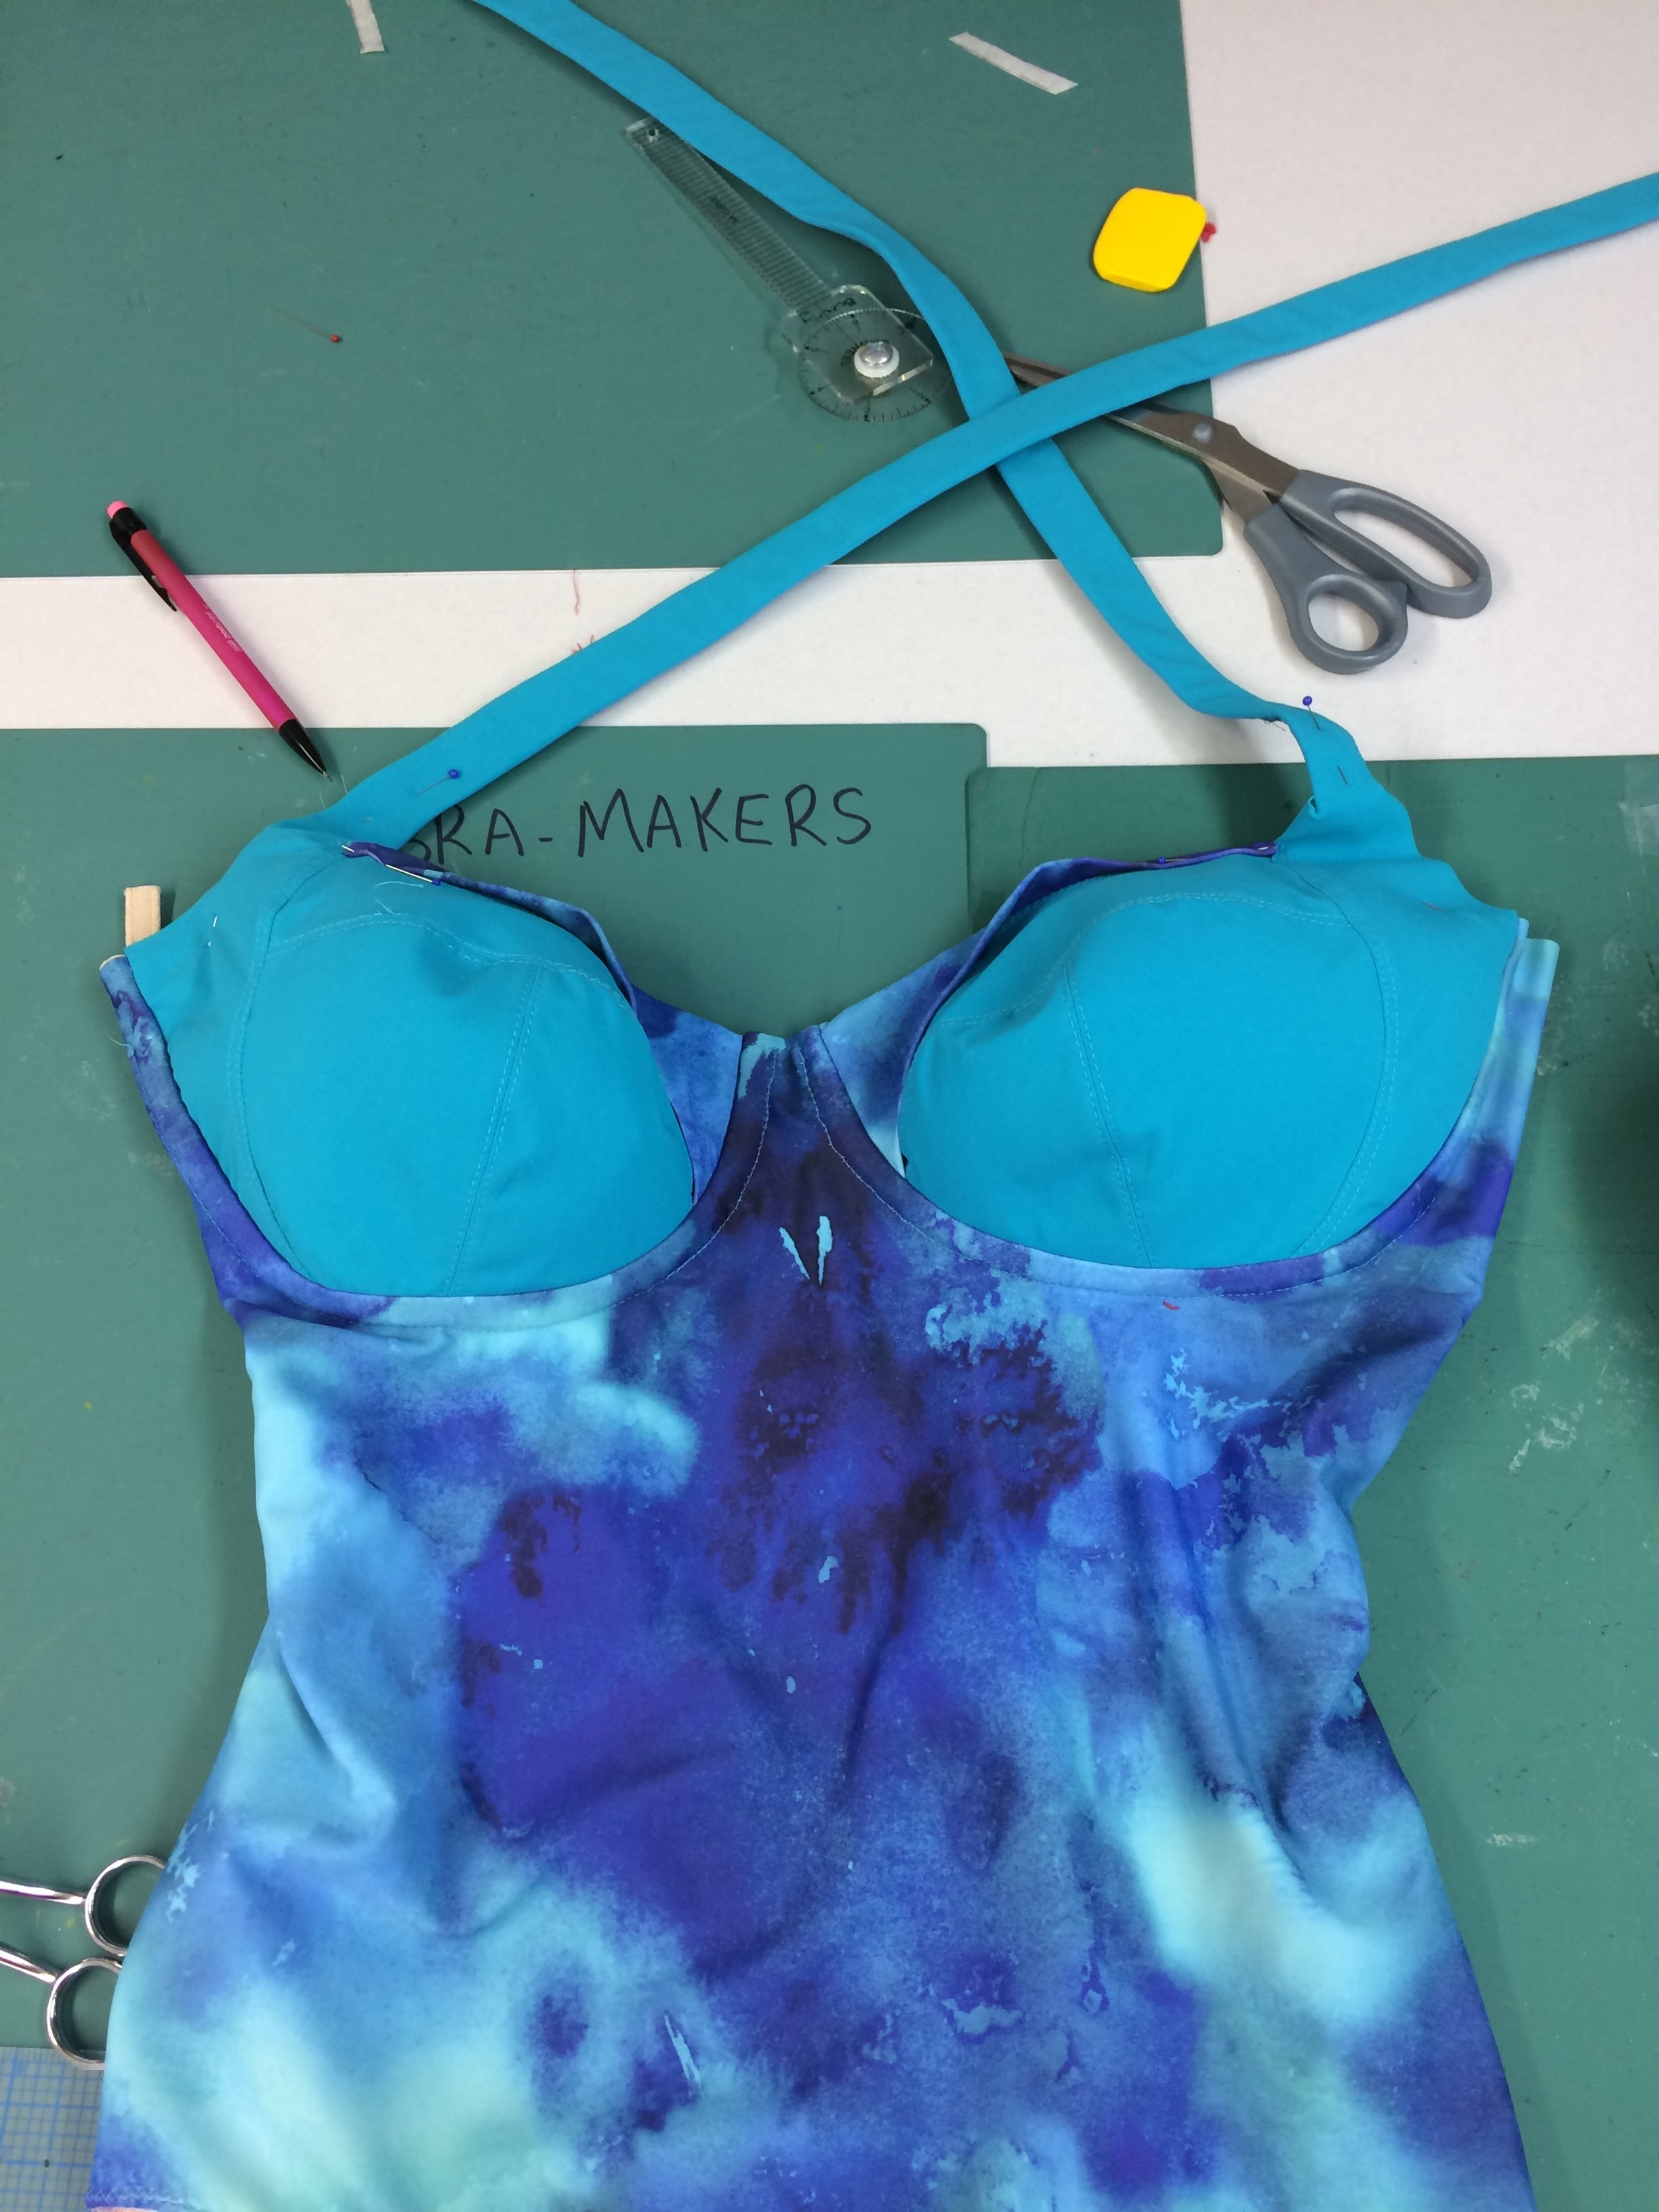
    The front had a retro look, incorporating my Shelley bra cups

    Blue swimsuit in progress 2

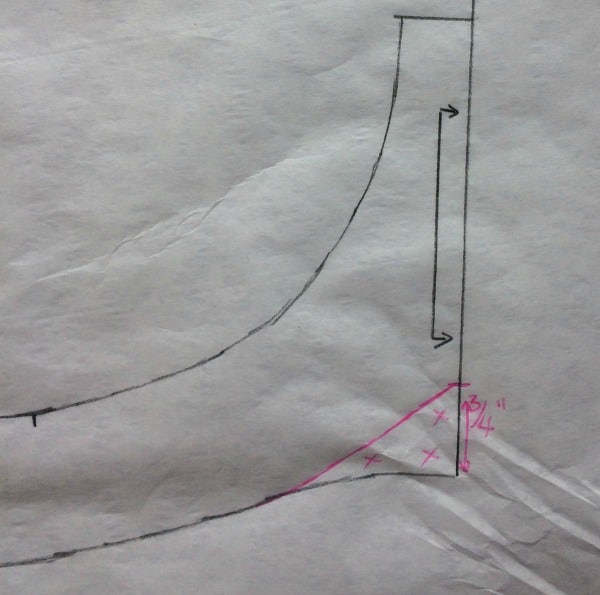
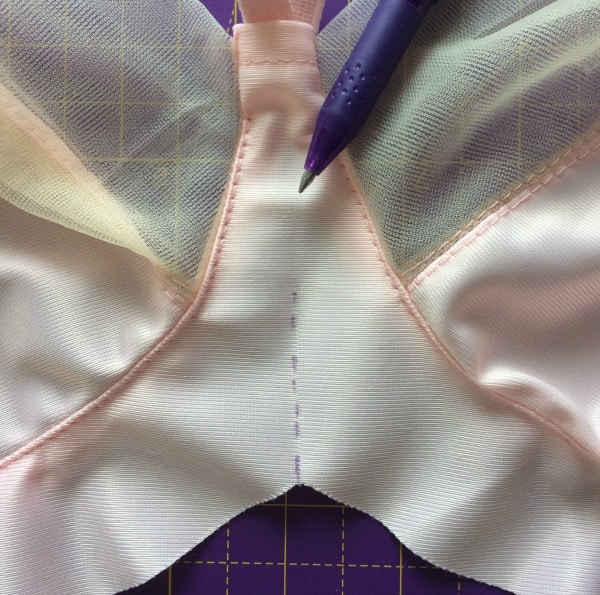
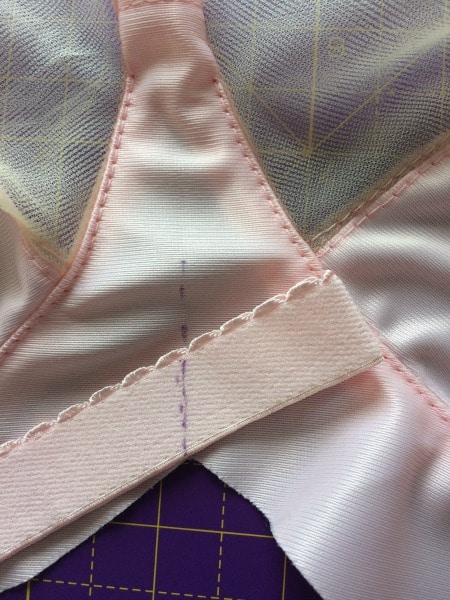
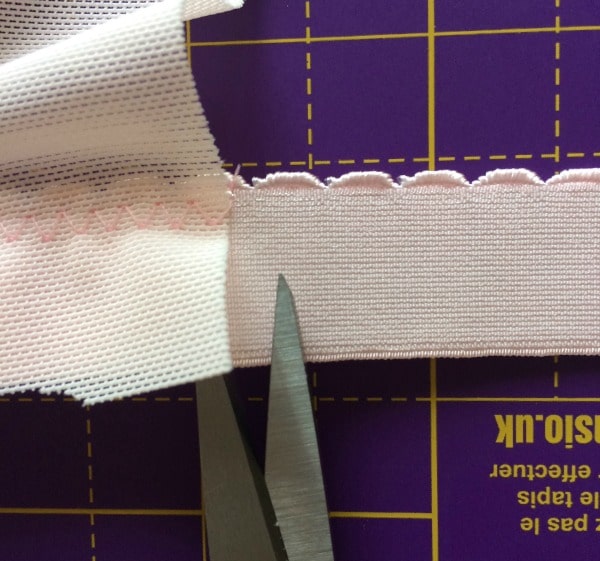
    I also converted my own bra pattern into a bikini top. Not bad for my first attempt as you can see.

    Whilst I was there I picked up copies of Beverly Johnson’s Big Book of Swimwear – I can highly recommend you read this as you will pick up so many useful tips. I also took advantage of buying loads of stock, including some new items, so watch this space!

    After a few days, I met up with my husband and we set off to the sunny climes of Florida for a much-needed holiday following our recent move to Peterborough – not needing the winter coat this time! We worked out this was only our second holiday with just the two of us in 27 years (not including our honeymoon). To say we deserved it is an understatement!

    So, to enjoy our time together, we took advantage of not having our four children and three grand-children with us and we whiled away our evenings sorting out the 5 suitcases of stock that I’d picked up. Some would say we were living the American Dream!

    The highlight of the holiday was me proudly wearing my new swimsuit and bikini (not at the same time I might add!). My bespoke look provided complete comfort throughout the whole holiday – I felt like a million dollars!

    sunbathing in my new swimsuit

    So, if you feel inspired to get ‘summer ready’ and you would like to pick up some tips and tricks to make your own swimwear, check out my Sewing Swimwear Techniques course.

    Many thanks

    Mandy

    Continue Reading

  • Five Good Reasons to Make Your Own Bra

    We’ve all been there ladies, wearing the wrong size bra for years and then you finally discover your correct size and voila, life is complete! Well, the good news is you can change the way you feel ‘supported’ forever. My top five reasons below will help you understand why making your own bespoke bra really is the answer:

    Most important reason – because you can!  Making a bra is, almost certainly, nowhere near as hard as you might think. Granted, there are a few specialised techniques and fabrics you may not be familiar with, but if you can set-in a sleeve or sew a princess seam then you can most definitely make a bra. Read more about making your own bra for the first time here

    Comfort is key – do you fling off your bra when you get home?  Don’t bother wearing a bra at the weekend? You are not alone – the key to comfort is the underwire.  If you make your own bra, measuring for the right pattern size and fitting the bra with the correct underwire, will make all the difference.  In the Ready to Wear section of high street stores, sadly you have no choice – certain bra sizes come with fixed wire sizes.  But if you make your own bra, these important elements are eradicated forever. Check out my underwire size charts to help you get started.

    No two breasts are the same – no-one has the same size breasts, fact! So why do retail stores expect us to wear a bra with the same size cup for each breast? It’s rare for anyone to be totally symmetrical in any area of our bodies; one ear higher, one foot bigger, a ring that fits on one hand doesn’t fit the same finger on the other hand, and so on.

    Breasts are no exception, even the smallest size difference can equate to a whole cup size.  This rule is emphasised even more for those ladies that have undergone breast surgery. Thankfully, it’s perfectly possible to accommodate all manner of idiosyncrasies when you make your own.

    80% of us wear the wrong size bra – many places proudly proclaim to having an expert fitting service.  But they can only fit you in what they have available to sell. Have you ever been to M&S for example and been told – “sorry, we don’t have the right size?” Instead, they wheel out the ‘sister sizing’ myth. Different brands size differently – 38D in one store becomes 38DD, or a 36F in another.  Make YOUR size to fit YOUR shape.

    Choice – Ever fallen in love with the perfect, most beautiful bra only to find it doesn’t come in your size? Or they don’t have it in stock? Or you like the shape and style but it doesn’t come in a colour you like?  Make you own bra and you can be as creative as you like.  Choose your own colour, trims and lace – the possibilities are endless. Check out my online shop for some inspiration and ideas.

    If you feel encouraged to create your own bra after reading this, then this is really exciting. It goes without saying to get in touch if you have any queries, just email me at mandy@www.fit2sew.co.uk.

    Just think, when you’ve completed your first bra, the second one and subsequent ones will be so much easier and, pretty soon, you will be a complete expert. You will have a whole drawer full of beautiful bras, ready for any occasion. Plus, each time you wear your new, perfectly fitted bra, you will feel and look like a million dollars; this feeling is priceless.

    Good luck everyone!

    [/et_pb_text][/et_pb_column][/et_pb_row][/et_pb_section]

    Continue Reading

  • How to sew a Gothic Arch

    Adding a gothic arch to your bra band is a must if you find the conventional straight band rides up or is generally uncomfortable.  Or if you just prefer the look of it.  So here’s a little guide for how to sew a gothic arch – the way I do it, at least.

    how to sew a gothic arch step 1The first thing you’ll need to do is alter your bra pattern. Measure up approx 3/4″ (2cm) from the bottom edge of the front frame.  A touch more if you want a more dramatic arch, a touch less for smaller sizes.  The important thing is to make a sharp angle at the centre front – otherwise it’s just an arch.  Not Gothic.  The other important thing is to smoothly blend the line back to the curve under the cup holes (almost certainly there is a more technical term …)

    Mhow to sew a gothic arch step 2ark the centre line on the front frame.  I love Frixion pens for marking fabric because you can get nice fine marks that disappear easily with the iron.

    Yes, I know the ink can reappear in the cold but since I never put my bras in the freezer (and certainly never while wearing them!) it’s not something that’s ever worried me.

    how to sew a gothic arch step 3

    Then fold the bottom band elastic in half with the plush side facing you and the fancy edge to the left.

    Line it up with the bottom edge of the frame so that the fold extends into the cup seam.


    how to seew a gothic arch step 4Machine-baste the elastic along the marked line.  Open the elastic out and position the machine-basting along the centre line on the frame.  Pin in place either side of the centre.

    I like to start the first pass of zig-zagging on the left side of the band, sewing from the centre point to the hook & eye point of the back band.  I use the firm band elastics in my findings kits and so I don’t need to stretch the band as I sew – I just put a little bit of tension on it, particularly under the cups.how to sew a gothic arch step 4a


    Trim the excess elastic flush with the end of the back band.


    how to sew a gothic arch step 5

    To make sure that both sides of the band are equal, take the bit you just trimmed off and use it as your template to trim the other end of the elastic.

    This next bit is the part most of my students find the hardest to fathom – until they do it!

    Pull out the machine-basting from the middle of the elastic.  Cut it at the fold.

    This leaves two little tails sticking up.

    how to sew a gothic arch step 7


    Now flip the bra over and clip at the centre just shy of the stitching.  This is important – the next bit won’t work otherwise!


    how to sew a gothic arch step 8

    Turn the bottom band to the wrong side, ready for the second pass of stitching.  The little tails should pass over each other and lay flat.  Use the original marked line to help you align the tails and pin them in place.


    how to sew a gothic arch step 9


    Sew the second pass from end to end, pivoting in the centre.


    how to sew a gothic arch step 10


    All done! Just a quick press with the iron to remove the Frixion pen marks.


    Continue Reading